|
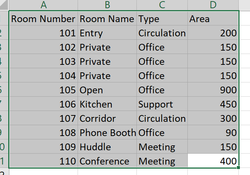
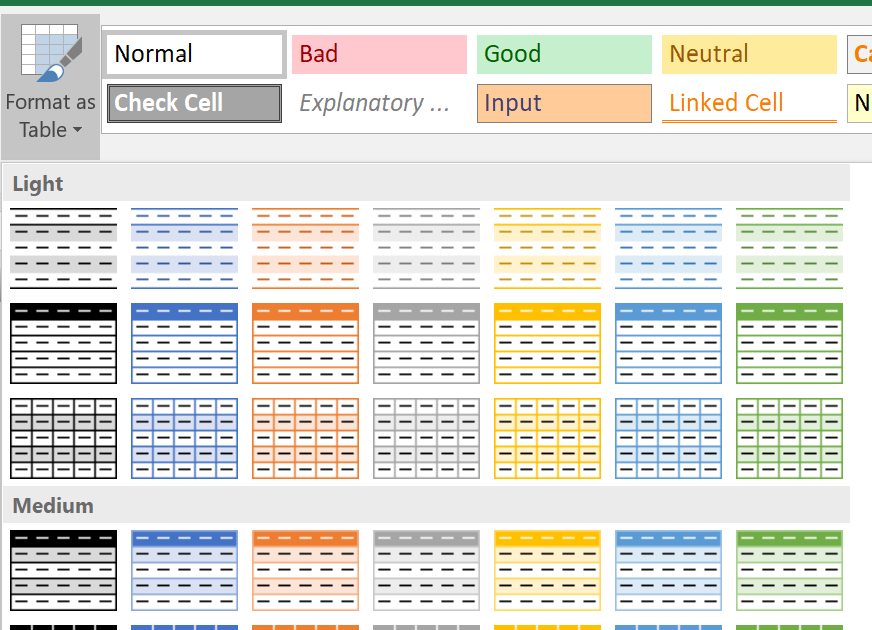
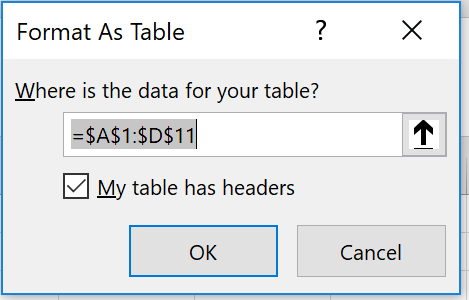
Often when I look at an Excel file, it just has way too much information. Rows upon rows of data. How do I make heads or tails of it? Lately, I have been using tables and slicers to assist in the sorting and filtering of my data. The great thing about tables and slicers is that I can quickly get down to the granularity level that I need. I also don't need to create as many tabs as I can filter the data. Please follow the steps below to create your first table and slicer. As always, reach out if you have any questions. Always Advancing, Ralph Setup a table
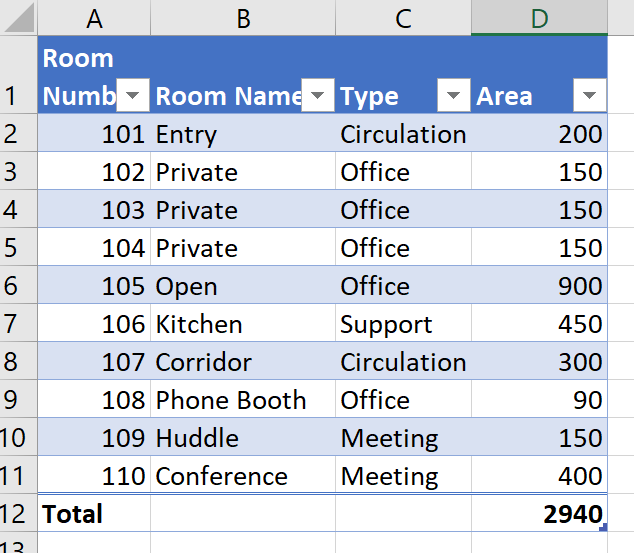 Filter and sort within the tableUse the arrows in the headers to sort and filter the table data. 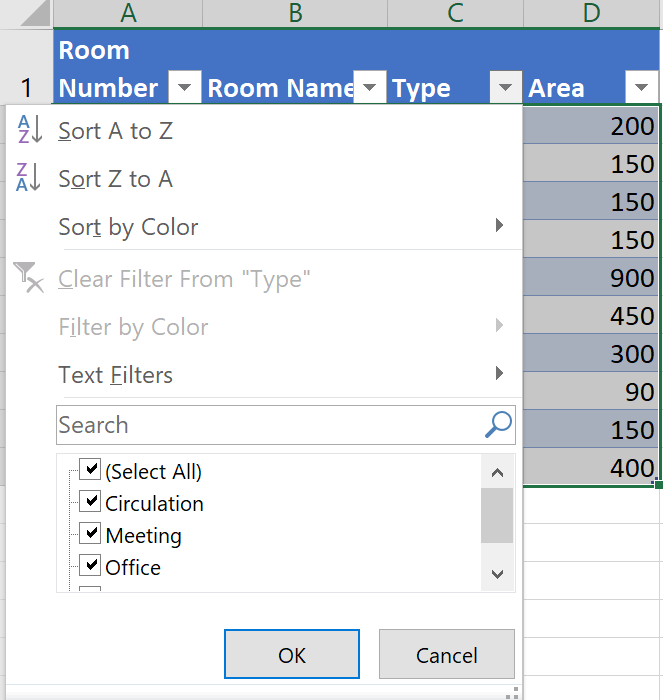
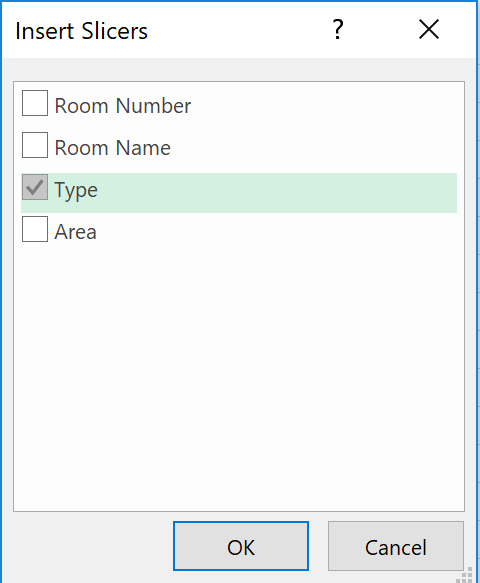
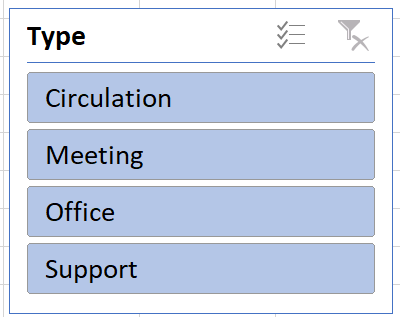
Setup a slicer
0 Comments
Leave a Reply. |
AuthorRalph Kreider strives to help make the construction industry more effective. Archives
June 2018
Categories
All

|
 RSS Feed